Critters

image

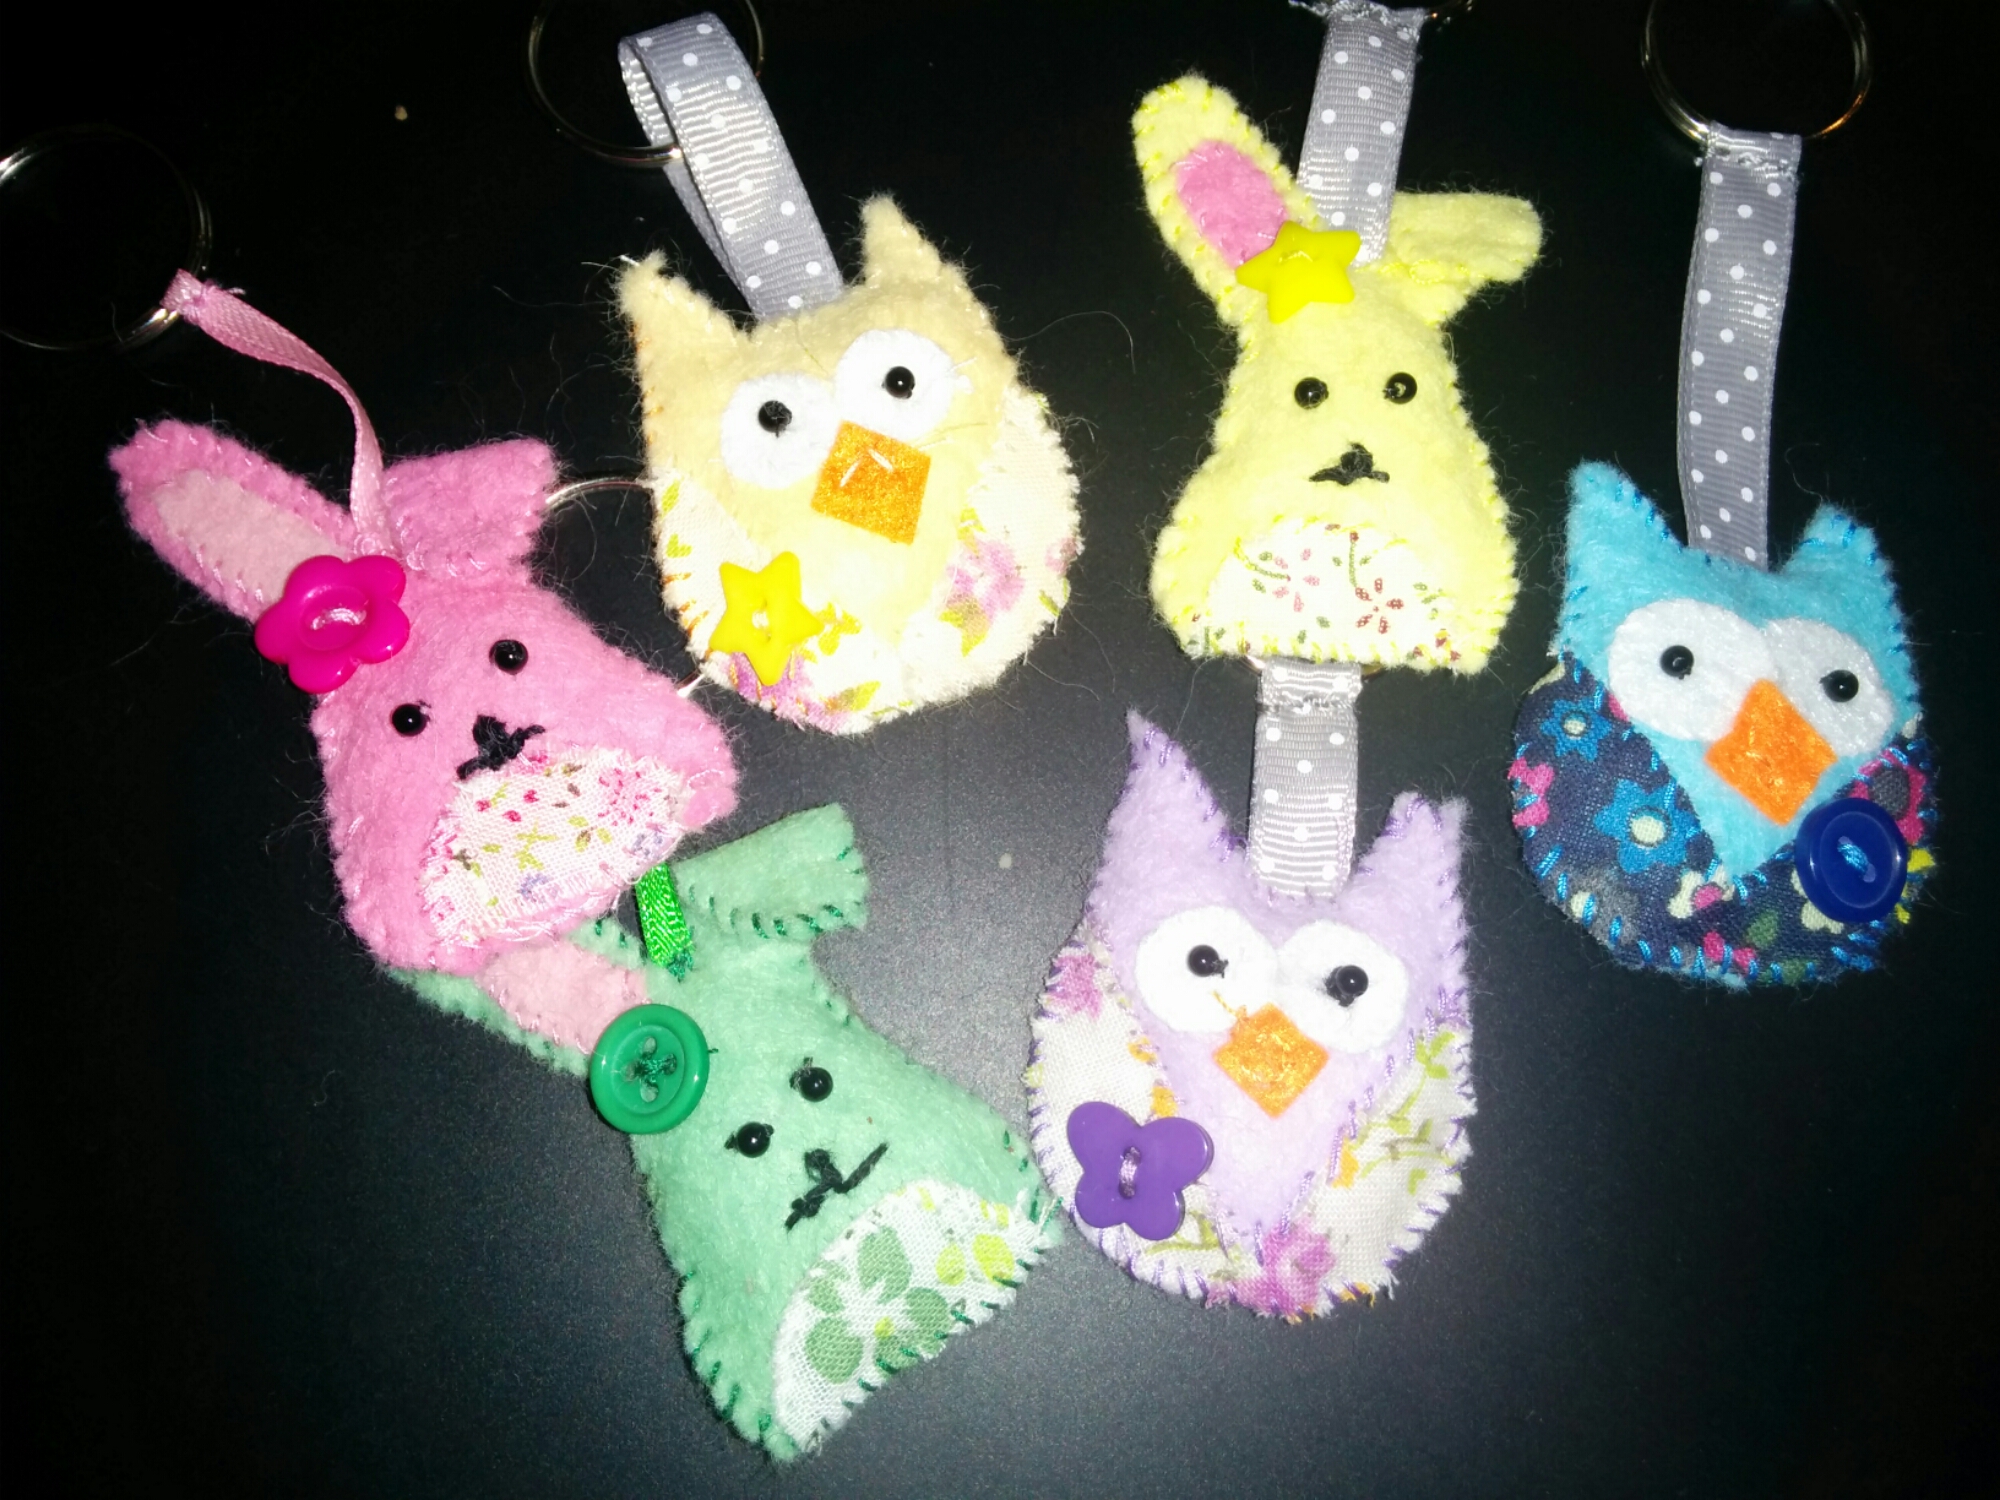
The next little project for me and my little helpers has been these little owl & rabbit keyrings we have been making.

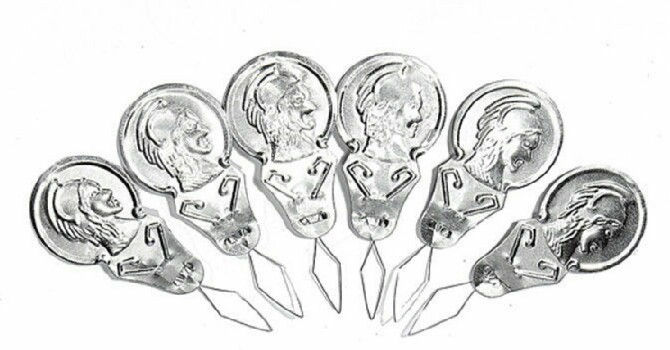
I do advise that if you do any sort of sewing project with the kids get needle threaders! As there were lots of different colours I found myself constantly threading cotton into needles as the kids couldn’t do it.

image

There are a few things you need

* coloured felt and matching color threads
* assorted coloured buttons
* black beads (for eyes)
* cotton wool for stuffing
* assorted scraps of material
* ribbon – make sure its quite thin
* key ring loops
* black embroidery thread (for detailing)

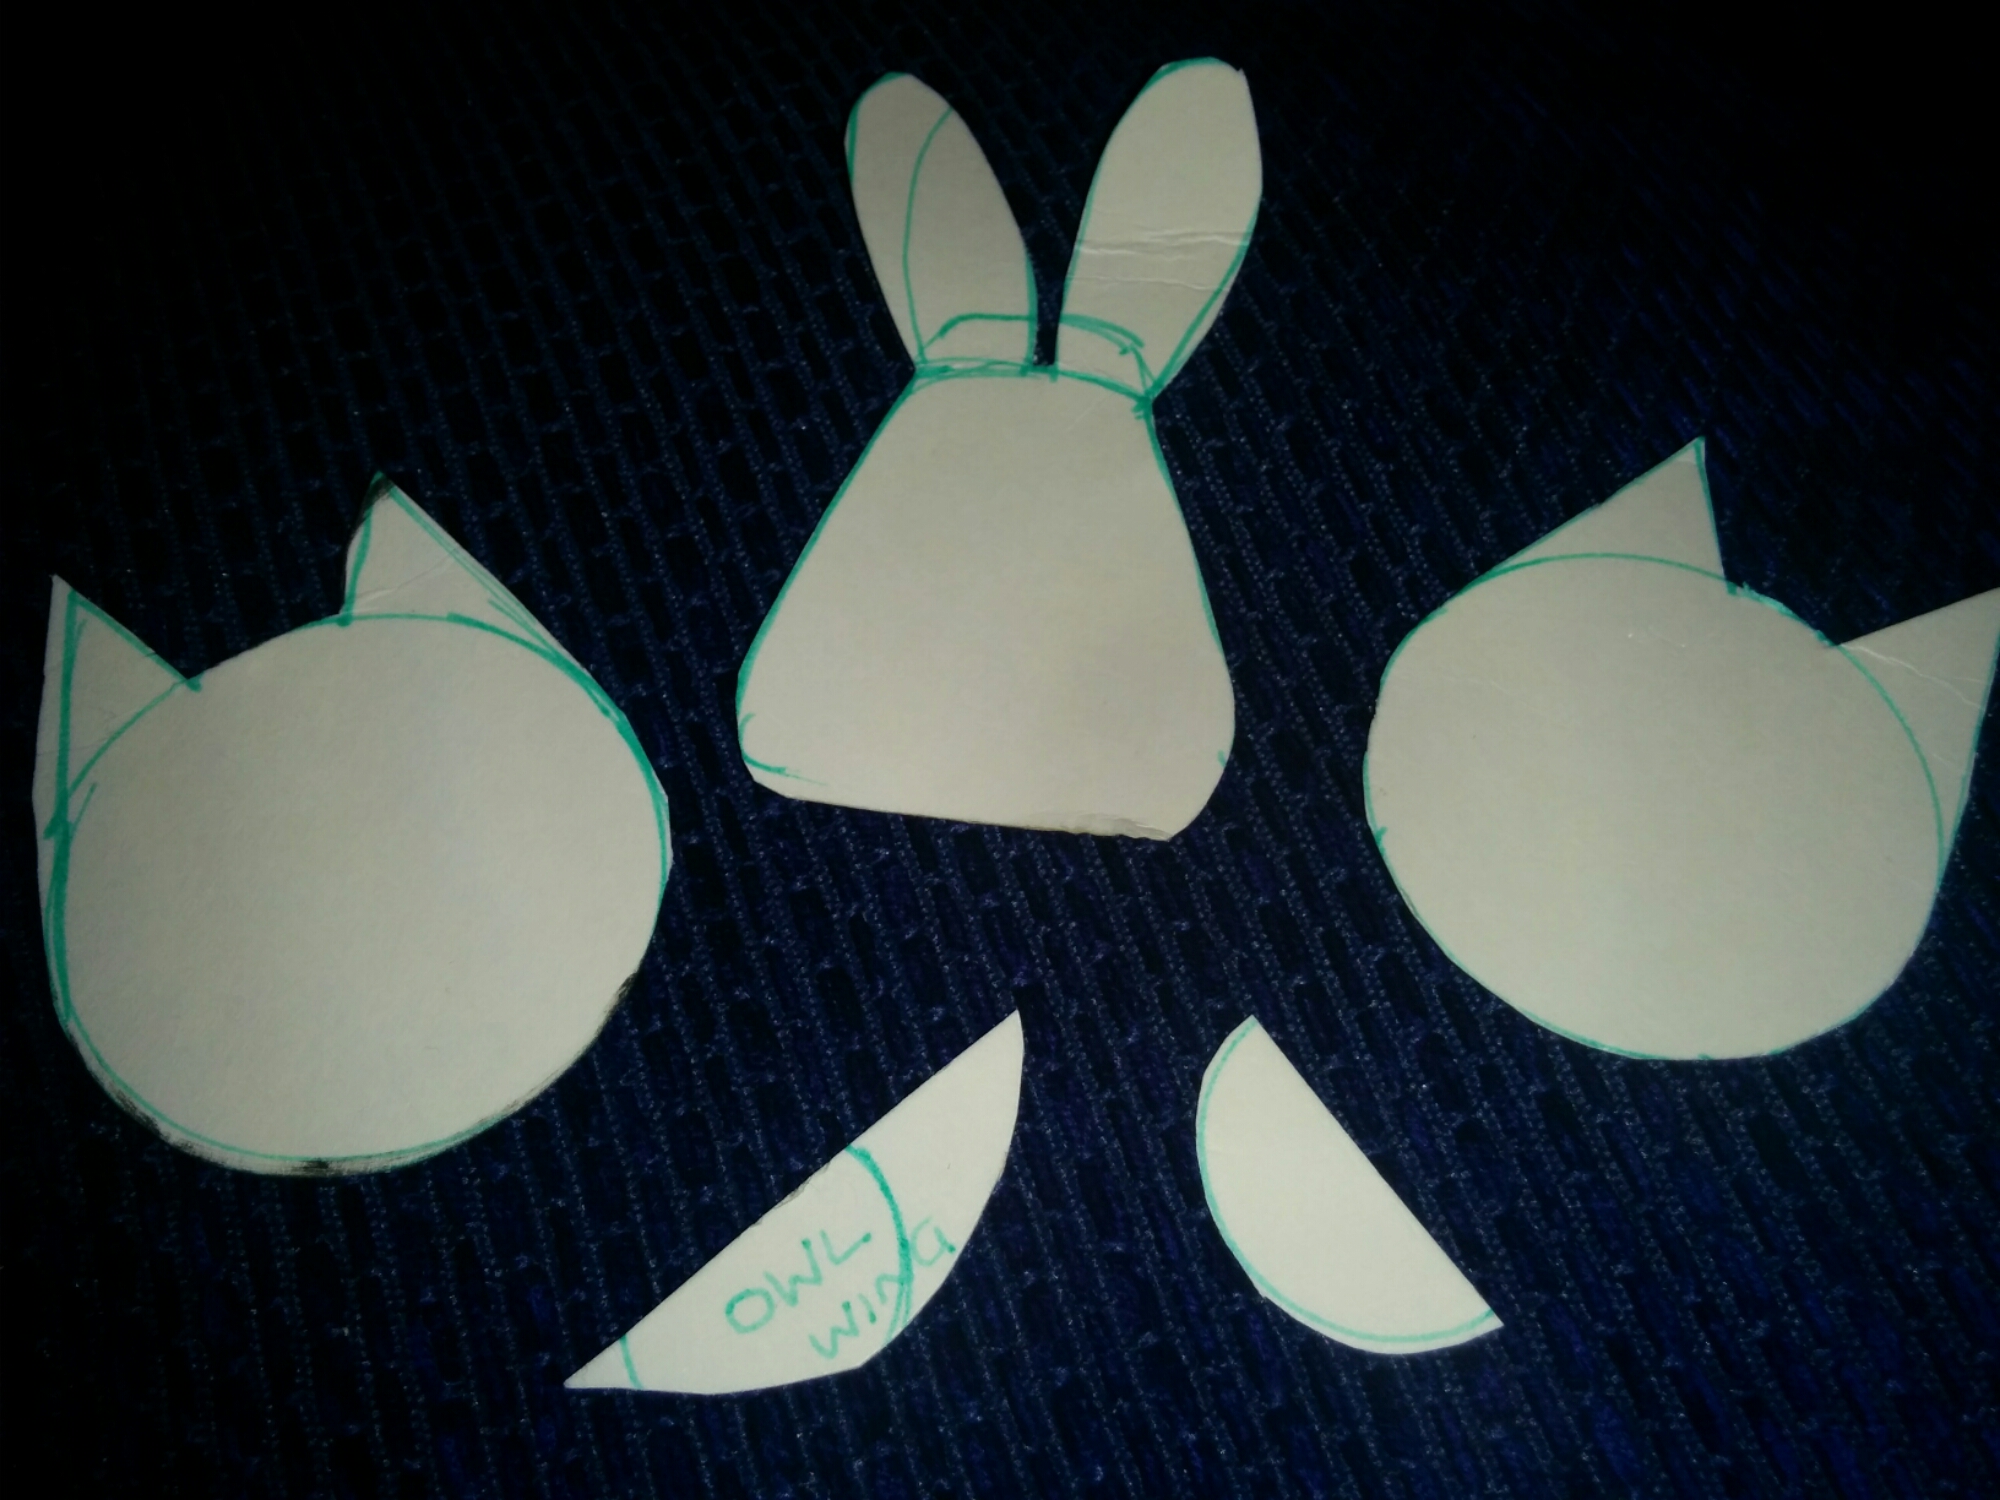
First we made a couple of templates in cardboard, then we all cut 2 pieces of felt from each of the templates and sewed them together leaving a small gap to stuff them. Templates were also made for owl wings and bunny bellies which were made from scraps of material.

image

Once the stuffing hole was sewn up details were added, bunny ears, eyes (black beads), owl beaks and little buttons. Finally we attached a piece of ribbon to enable the key ring loop to go onto it.

There you go as easy as that! My 8yr old even went off and made a second one on his own :)

Almond butter

So I’m having one of those, I really don’t wanna eat that it’s full of all sorts of nastys and chemicals months!

My target at the mo is Margarine, if bacteria refuse to live in margarine or vegetable fat spread then how good can it actually be for us?

In my search for alternatives I found almond butter.

Behold! The magic of almond butter

image

Now I say its magic as there is 1 ingredient, almonds, yes that is it just almonds. They spent a good 10 mins of their life being chopped nuts and just as I was giving it up as a bad job BAM! The oils in the nuts released and it became a peanut butter type consistency.

I spread mine on toast and it was yummy, I recommend giving it a try just make sure you have a good blender/mixer.

Candy trees

20131117-012751.jpg

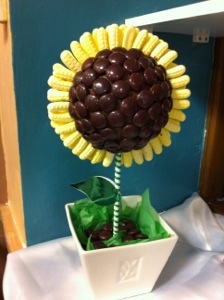
Having a crack at doing a candy tree, I had an old plant pot I used, a wooden dowel, plaster of paris, a polystyrene sphere and some green ribbon.

I didn’t quite have enough plaster in the one pictured above I only had a small amount left from a previous project and didnt want to wait a couple of days to order more so I made do. I would more or less fill the pot to the top with plaster when I do it again it gives more stability to the whole thing.

So it goes like this, mix the plaster, put it in the pot and put your dowel into the middle and hold it there for a few mins until it starts setting & holds itself (I painted mine white)

Use a screwdriver to drive a hole into the polystyrene sphere and then place the sphere onto the dowel.

I decorated mine by painting melted chocolate all over it and sticking the sweets down onto it, you can use any sweets and make your chocolate any colour with some white chocolate and food dye.

As a finishing touch I added some green ribbon around the dowel and cut out a green leaf shape

Treacle toffeeeeeeee

With the kids off school and a request from my little un we have been busy making treacle toffee

20131029-150439.jpg
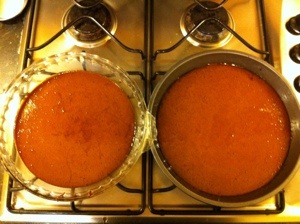
It may look like cake at the moment, but it won’t!

To do this

115g treacle
115g golden syrup
450g brown sugar (dark brown is best)
125ml hot water
1/4 teaspoon cream of tartar

Place the hot water and sugar into a pan, the biggest one you have is best as it needs room to bubble. Once the sugar is dissolved, add the rest of the ingredients and leave to heat up. Try not to move or mix the mixture and make sure it gets up to a temperature of 270oF or 140oC, this can take upto 30 mins to do and regular testing with a sugar thermometer.

Once done leave to cool and voila!